
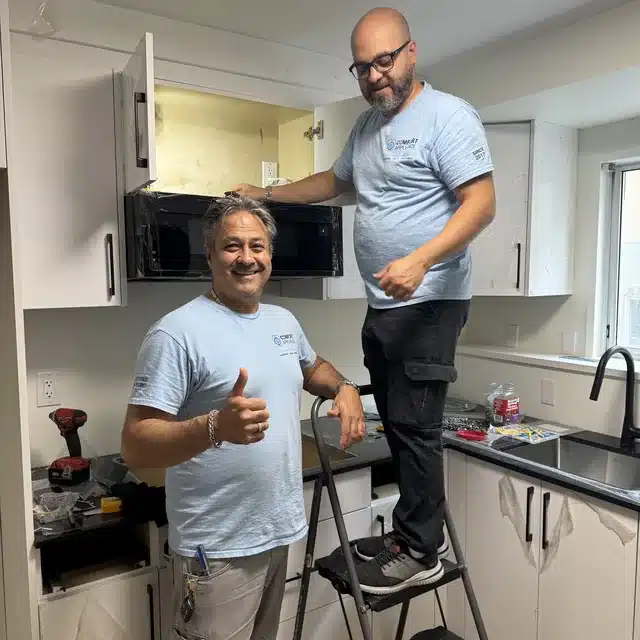
Quick Answer: Over the range microwave installation is a two-person job that takes about two hours when the space, venting and electrical are already right — and much longer when they’re not. The three things that decide whether it goes smoothly are the measurements (a 30-inch cabinet opening and the right clearance above the cooktop), the venting path (ducted outside or recirculating), and a dedicated 120V grounded outlet in the upper cabinet. If any of those three is missing, call a pro: a 50–80 lb microwave held by drywall anchors is a failure waiting to happen.
An over-the-range (OTR) microwave does three jobs at once: it cooks, it vents the range below, and it frees up the counter. That’s why it’s the default choice in most Burnaby condos and townhomes, where counter space is precious. But it’s also less forgiving than a countertop unit — set it too low and you risk heat damage, miss the studs and it sags, get the ducting wrong and grease recirculates into the kitchen. This guide covers the measurements, the venting decision, the electrical requirements, what over the range microwave installation cost typically runs, and when to hand the job to a professional.
Before you buy: measure the space
Most over-the-range microwaves are built for a 30-inch-wide cabinet opening, and most measure roughly 30 inches wide, 15–17 inches high and 15–18 inches deep. But “most” isn’t a measurement — check the manual for the exact model you’re buying, because depth and height vary enough to matter in a tight kitchen.
| Measurement | Typical requirement | Why it matters |
|---|---|---|
| Cabinet opening width | 30 in. standard | The microwave must fit between the flanking cabinets with no forcing |
| Cooktop to microwave bottom (electric) | 30 in. minimum | Heat clearance; too low risks damage to the microwave base |
| Cooktop to microwave bottom (gas) | 30–36 in., per range model and local fuel-gas code | Gas code often overrides the microwave manual — the stricter number wins |
| Bottom of microwave above floor | No higher than 54 in. (NKBA guidance) | Comfort and safety reaching hot food |
| Wall load capacity | Must support ~110 lb (unit + contents + dynamic load) | The mounting plate must hit at least one stud |
| Installed weight | 50–80 lb (23–36 kg) | A two-person lift; never a solo job |
Measure the distance from the top of the range to the bottom of the upper cabinet, then subtract the minimum clearance to find the maximum microwave height that fits. If the numbers don’t work, the answer is a different model or a cabinet modification — not a microwave squeezed into a space that’s too short.
Venting: ducted or recirculating?
Every OTR microwave has a blower, but the blower only performs if the air has somewhere to go. This is the decision most buyers overlook, and it’s the one that most affects how the kitchen feels afterwards.
| Venting type | How it works | Best for | Watch out for |
|---|---|---|---|
| Ducted (vertical) | Blower exhausts up through ductwork in the cabinet and out through the roof | Most kitchens; the best grease and steam removal | Needs existing or new roof ducting |
| Ducted (horizontal) | Blower exhausts out through the wall behind the unit | Ranges on an exterior wall | Needs a wall penetration and exterior cap |
| Recirculating (ductless) | Air passes through a charcoal filter and returns to the room | Condos and kitchens with no duct route | Weaker grease removal; charcoal filters need replacing |
Ducted is the better choice for most kitchens, and many local codes require ducted venting above gas ranges. The blower must be physically reconfigured for the chosen path before the unit is mounted — it’s a step that’s easy to skip and expensive to fix afterwards. If you’re replacing a range hood with a microwave, check whether the existing duct lines up: OTR microwaves use the same 30-inch space, but the duct position doesn’t always match the old hood.
Electrical: a dedicated circuit, not a shared one
An OTR microwave needs a dedicated 120-volt grounded outlet, protected by a 15- or 20-amp breaker, installed inside the upper cabinet where the power cord plugs in directly. It should not share a circuit with other kitchen loads, and the cord should never run through an extension cord or a power bar. If there’s no outlet in the upper cabinet, that’s electrician work — not part of a standard microwave installation, and not a step to improvise.
The installation, step by step
- Kill the power at the breaker for the range and the outlet circuit.
- Find the studs behind the range with a stud finder and mark them. The mounting plate must anchor into at least one stud; drywall anchors alone are not rated for a 50–80 lb appliance.
- Apply the paper template that ships with the unit to the wall, level and centred over the range, and mark the mounting-plate holes.
- Drill pilot holes and fix the mounting plate to the wall.
- Apply the cabinet template and cut the cord hole (typically 1½ in.) and the vent opening in the upper cabinet.
- Configure the blower for your venting path (ducted vertical, ducted horizontal, or recirculating) before lifting the unit.
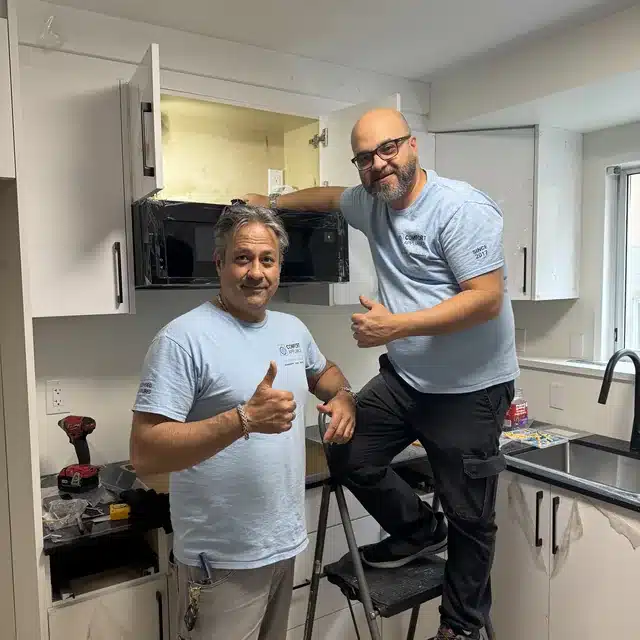
- Lift the microwave onto the mounting plate with two people, tilt it into place, and bolt the top to the cabinet above.
- Connect the vent, plug in the power cord, restore power, and test every function — including the vent fan on all speeds.
The most common failure in OTR microwave installation is mechanical: installers who skip the stud check end up with a heavy appliance held by anchors that were never rated for the load. The second most common is the blower left in the wrong configuration, so the vent pushes air nowhere.
Over the range microwave installation cost
Published 2026 guides put over the range microwave installation cost roughly between $100 and $500, depending on what’s already in place. A straightforward swap into an existing 30-inch opening with working ducting and an outlet in the cabinet sits at the low end. New ductwork, a new outlet, or cabinet modification pushes it up — those are separate trades, and they’re the reason quotes vary.
If you’re comparing a DIY install with a professional one, weigh the real costs: two people, the right tools, the risk of a dropped unit, and the venting and electrical decisions that are hard to undo. A professional install includes the measuring, the mounting, the vent configuration and a test of every function — and if the microwave itself has a fault, our microwave oven not heating fix guide covers the safe checks before you decide between repair and replacement.
For over the range microwave installation near me in Burnaby, Coquitlam and Vancouver, Comfort Appliance Service handles the full job through our microwave repair and installation service. Call with your make and model and we’ll confirm the scope and your exact quote before booking. For wider kitchen work — a range swap alongside the microwave, or a hood replacement — see our kitchen repair and installation service.
DIY or call a pro?
DIY is reasonable when all of these are true: the opening measures correctly, the ducting and outlet already exist, you have a second person for the lift, and you’re comfortable with a drill and a level. Call a pro when any of these apply: there’s no outlet in the upper cabinet, there’s no duct route and you want ducted venting, the cabinet needs modification, the wall is tile or plaster/lath that needs special fixing, or the range is gas and the clearance rules need checking against local code.
Microwave installation is one of those jobs where the difference between “done” and “done right” shows up months later — in a sagging unit, a vent that doesn’t vent, or a breaker that keeps tripping. Getting the three fundamentals right (studs, venting, dedicated circuit) is what separates the two. For the broader picture on kitchen appliance faults, see our guide to common home appliance problems, and for the repair-vs-replace decision on an older unit, our guide to whether to repair or replace an appliance.
Whether you install it yourself or have it installed, an OTR microwave earns its place in a small kitchen — as long as it’s mounted to studs, vented properly, and wired to its own circuit. That’s the whole job, and it’s worth doing once and doing right. For appliance install work in Burnaby and across the Lower Mainland, we’re a phone call away.
Frequently Asked Questions
How much does over the range microwave installation cost?
Published 2026 guides put it roughly between $100 and $500, depending on what’s already in place. A straightforward swap with existing ducting and an outlet sits at the low end; new ductwork or electrical work pushes it up. Call with your make and model for an exact quote for your kitchen.
How high should an over-the-range microwave be above the stove?
At least 30 inches from the cooktop to the bottom of the microwave for electric ranges, and 30–36 inches for gas, depending on the range model and local fuel-gas code. The bottom of the microwave should sit no higher than 54 inches off the floor for comfortable use.
Do over-the-range microwaves need to be vented outside?
Not always — recirculating models filter the air through a charcoal filter and return it to the room. But ducted venting (outside) removes grease and steam far better, and many local codes require it above gas ranges. If a duct route exists, use it.
Can I install an over-the-range microwave myself?
Yes, if the opening measures correctly, ducting and a dedicated outlet already exist, and you have a second person for the 50–80 lb lift. If electrical work, new ducting or cabinet modification is needed, that’s professional work.
Does an over-the-range microwave need its own circuit?
Yes — a dedicated 120V grounded circuit on a 15- or 20-amp breaker, with the outlet inside the upper cabinet. Sharing the circuit with other kitchen loads risks tripping the breaker and isn’t up to code in most jurisdictions.
Sources
- Sharp — How to Install an Over-the-Range Microwave Oven — https://simplybetterliving.sharpusa.com/simply-better-you/how-to-install-an-over-the-range-microwave-oven/
- GE Appliances — Service and Support — https://www.geappliances.com/ge/service-and-support/
- ENERGY STAR — Energy Efficient Products — https://www.energystar.gov/products